Step-by-Step Guide to Using DTF Transfer Sheets for Custom Apparel
If you’re in the business of custom apparel, you’ve probably heard of DTF transfer sheets—and if not, you’re in for a treat! Direct to film Transfers Sheets (DTF) technology is revolutionizing how custom designs are applied to garments. It offers versatility, durability, and high-quality results that rival traditional methods like screen printing and heat transfer vinyl. Ready to dive in? This guide will walk you through everything you need to know about using DTF transfer sheets to create stunning custom apparel.
What Are DTF Transfer Sheets?
DTF transfer sheets are a cutting-edge technology in the custom apparel industry. Unlike other methods like screen printing, which require multiple steps and setups, direct to film sheets allow you to print your design directly onto a film using a specialized DTF printer. The design is then transferred onto the fabric using a heat press, with the help of a powder adhesive that ensures strong adhesion and durability.
Why Choose DTF?
- Versatility: Works on a wide range of fabrics, including cotton, polyester, nylon, leather, and even blends.
- Durability: DTF prints are known for their resilience, maintaining color vibrancy and adhesion even after many washes.
- High Resolution: Capable of producing detailed and high-definition prints, making it ideal for intricate designs.
Materials and Equipment Needed
Before jumping into the process, you’ll need the right materials and equipment. Here’s a checklist:
- DTF Transfer Sheets: The base for your designs.
- DTF Printer: A specialized printer designed for DTF printing, using water-based pigment inks specifically formulated for direct to film transfers sheets.
- DTF Inks: These include CMYK inks and a specialized white ink used as a base layer for dark garments. The white ink enhances color visibility on darker fabrics, ensuring designs pop. Be mindful of managing ink levels and performing regular maintenance to prevent clogging, especially with white ink.
- Heat Press: Essential for transferring the print from the film to the fabric.
- Powder Adhesive: Helps bond the print to the fabric securely.
- Curing Oven (Optional): Useful for speeding up the curing process, though some heat presses have built-in features.
Step-by-Step Process for Using DTF Transfer Sheets
Now, let’s get down to the nuts and bolts. Follow these steps to create professional-grade custom apparel with DTF transfer sheets.
Step 1: Preparing the Artwork and Printer Settings
Your first step is to design the artwork. Make sure it’s high resolution (300 dpi or higher) for crisp, clear prints. Once your design is ready:
- Import the file into your DTF printing software.
- Adjust settings to match the fabric type and color. Each printer and software may have different settings, but focus on parameters like color saturation, print quality, and material type. Ensure the correct color profiles are set up for the specific DTF inks being used.
Tip: Experiment with small test prints first to fine-tune settings and avoid wasting materials.
Step 2: Printing the Design on DTF Sheets
Load the DTF transfer sheet into your printer. Ensure it’s positioned correctly so the design prints on the coated side of the sheet. Print your design, making sure the ink covers the transfer sheet evenly.
Note: Avoid touching the printed design, as the ink needs to remain undisturbed before applying the adhesive powder.
Step 3: Applying the Powder Adhesive
Immediately after printing, sprinkle the powder adhesive evenly over the wet design. This adhesive is crucial as it bonds the print to the fabric during the transfer process.
- Make sure every part of the design is covered.
- Shake off the excess powder gently.
Pro Tip: Use a powder applicator if available. It helps distribute the adhesive evenly, reducing the risk of adhesion issues later on.
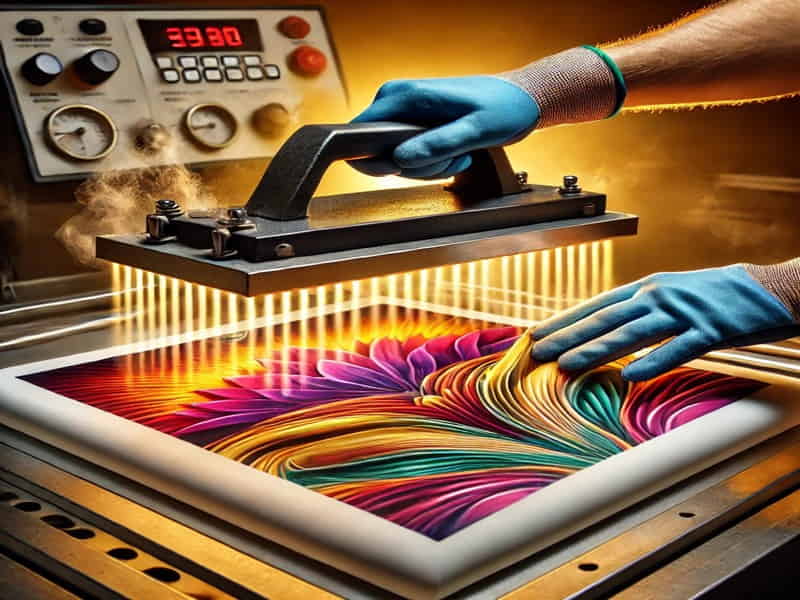
Step 4: Heat Pressing the Transfer
Preheat your heat press to the recommended temperature (typically around 320°F, but it may vary). Place your garment on the heat press and position the DTF transfer sheet on top, with the printed side facing down.
- Press for 10-15 seconds with medium pressure.
- Carefully peel off the transfer sheet while it’s still warm.
Tip: Use Teflon sheets to protect your fabric and transfer during pressing. This also helps distribute heat more evenly.
Step 5: Curing and Finishing
After pressing, allow the garment to cool down for a few minutes. The powder adhesive will have bonded the design securely to the fabric. If you notice any parts lifting, repress them with a Teflon sheet for another 5-10 seconds.
Pro Tip: For extra durability, some businesses cure the printed garment in an oven for 2-3 minutes at 300°F. This optional step enhances adhesion, especially for garments subjected to frequent washing.
Best Practices for Professional Results
Achieving a professional finish with DTF transfer sheets isn’t just about following the steps—it’s about perfecting the details. Here are some best practices:
- Choose the Right Fabric: While direct to film sheets work on most fabrics, smoother surfaces (like polyester, cotton, nylon, leather, and blends) yield the best results. However, certain materials like leather or nylon may require a pre-treatment to ensure optimal adhesion.
- Adjust for Colors: If working with dark fabrics, use white ink as a base layer to make colors pop.
- Monitor Heat and Pressure: Consistency is key. Too much heat or pressure can cause smudging, while too little may lead to poor adhesion.
Troubleshooting Common Issues
Even the pros encounter hiccups. Here are some common problems and solutions:
- Issue: Poor Adhesion
Solution: Ensure the powder adhesive covers the design evenly. Double-check your heat and pressure settings, as inconsistent application can weaken the bond.
- Issue: Smudged Prints
Solution: Smudging often occurs if the design is disturbed before the powder sets. Handle the transfer sheet carefully and avoid touching the print before applying the adhesive.
- Issue: Ink Bleeding or Color Migration
Solution: This can happen when the fabric is not properly pre-treated. For fabrics like nylon or leather, pre-treat them to prevent bleeding.
- Issue: Transfer Sheet Not Releasing Properly
Solution: If the transfer sheet doesn’t release, the heat press may not be hot enough, or the pressure may be too low. Adjust these settings and test again.
- Issue: Ghosting or Shadows in the Print
Solution: Ghosting usually results from the transfer sheet shifting during the pressing process. Use Teflon sheets and ensure the transfer is placed securely before pressing.
Conclusion
Using DTF transfer sheets is a transformative approach for custom apparel businesses, offering high-quality, durable, and versatile printing solutions that elevate your apparel creations. Direct to Film technology allows for vibrant, intricate designs on a wide range of fabrics, including cotton, polyester, nylon, and even leather. By mastering DTF techniques, small print shops and established custom apparel companies alike can significantly enhance their product offerings, improve customer satisfaction, and boost overall business growth. Embracing this innovative method not only ensures professional results but also keeps your business competitive in an evolving market.